Stampin' Up! Magical Day - SBTD 1/2018
Hello and welcome to another Stampers by the Dozen Blog Hop! Thanks for hopping along with us - we would love you to leave a comment to let us know what you think of our projects ...
Our theme this month is anything new - from the either the Spring / Summer Catalogue of the Sale-a-Bration Brochure.
My biggest decision was what to use - so many gorgeous new products and so little time (as always)!
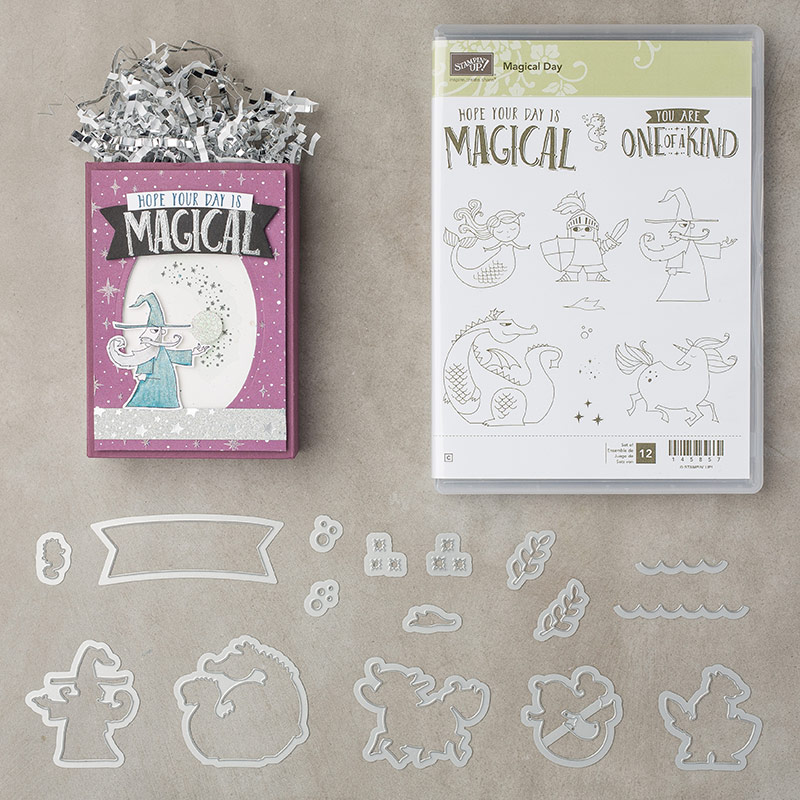
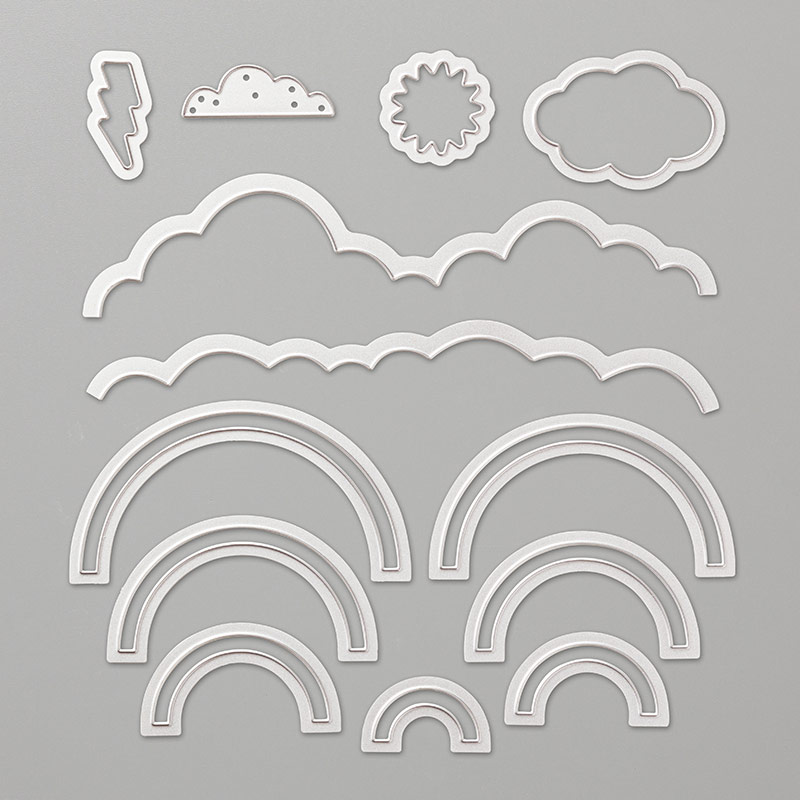
It took me ages before I decided to use the Magical Day bundle and the fabulous Rainbow Builder Framelits Dies. So long in fact that I only started my projects yesterday - it was a good job I had lots of ideas whizzing around my head!

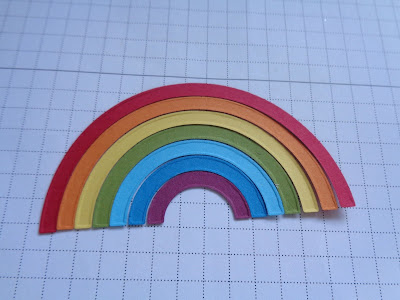
I started by making a rainbow - not too difficult but then I am a Libran; it took me ages to decide which colours to use! Eventually I settled on card from the Brights Collection and got to work.

Once I had cut all my sections I needed to figure out a way to stick them together. I decided it would be best to stick them together on the reverse.
I pushed a ruler against the ends so that I could line them up neatly.
I then used Tear & Tape on the reverse to hold all the pieces together - not very pretty but you can't see the tape from the front!
I used my Stampin' Write Markers to colour the mane and the tail with the same colours as the card I used for the rainbow - love a bit of easy coordination don't you?
Of course I had to use my Wink of Stella to add some sparkle - and for once, I have managed to get a half decent photograph showing the sparkly loveliness.
I initially cut out a cloud with some glimmer paper but decided that it was not quite right and used thick Whisper White instead. Can you see how one of the clouds fits perfectly into the bottom of the rainbow? I don't know if this is how you are supposed to line the two pieces up - it could be a happy accident but, knowing SU there is a strong possibility that some clever person really thought about this for us already!
I used one of the sentiments from the Magical Day stamp set on the inside, adding some Dazzling Diamonds glitter with the Fine Tip Glue Pen.
Here is the completed card and envelope - I have to say I am quite pleased with how it turned out - a very 'me' card and I will be making more of these very soon!
Next on the hop is Tricia who I'm sure has something fabulous to share with you too.
Happy crafting!
Susan xx
If you get lost along the hop, here is a list of all participants.
Anastasia Radloff
Karie Beglau
If you don't have a Stampin' Up! Demonstrator I would love to be yours! If you don't have a copies of current catalogues and the Sale-a-Bration brochure and you would like one, please let me know and I will send them to you straight away free of charge.
If you need to order any supplies, simply use my “shop with me” button or click on the catalogue links on the right. Alternatively, contact me and I would be happy to place an order for you.
For orders over £150 please do not use the Hostess Code to ensure that you receive the benefits (you will still receive a card and a thank you gift from me).
Our theme this month is anything new - from the either the Spring / Summer Catalogue of the Sale-a-Bration Brochure.
My biggest decision was what to use - so many gorgeous new products and so little time (as always)!
It took me ages before I decided to use the Magical Day bundle and the fabulous Rainbow Builder Framelits Dies. So long in fact that I only started my projects yesterday - it was a good job I had lots of ideas whizzing around my head!

I started by making a rainbow - not too difficult but then I am a Libran; it took me ages to decide which colours to use! Eventually I settled on card from the Brights Collection and got to work.

Once I had cut all my sections I needed to figure out a way to stick them together. I decided it would be best to stick them together on the reverse.
I pushed a ruler against the ends so that I could line them up neatly.
I then used Tear & Tape on the reverse to hold all the pieces together - not very pretty but you can't see the tape from the front!
If you are a follower of my blog you will probably know that I have a bit of a thing for 'white' cards.
This project is no exception - I know exactly who I will be sending this card to and that they also like cards with lots of white space too so, all is good!
I used Basic Grey Archival Ink to stamp my unicorn as I felt black ink would be too harsh for this project.
This shape would be fairly easy to fussy cut but there is no need as there is a matching die that does a great job in a fraction of the time.
Of course I had to use my Wink of Stella to add some sparkle - and for once, I have managed to get a half decent photograph showing the sparkly loveliness.
I initially cut out a cloud with some glimmer paper but decided that it was not quite right and used thick Whisper White instead. Can you see how one of the clouds fits perfectly into the bottom of the rainbow? I don't know if this is how you are supposed to line the two pieces up - it could be a happy accident but, knowing SU there is a strong possibility that some clever person really thought about this for us already!
I used one of the sentiments from the Magical Day stamp set on the inside, adding some Dazzling Diamonds glitter with the Fine Tip Glue Pen.
Of course the envelope received some attention too ...
For the card front I cut a thick WW panel 5 mm smaller than the card base and used Stampin' Dimensionals to add dimension to all the different layers. The sentiment is from a stamp set called You're Priceless.
When I am working on a project I never make just one of anything - as a result I had some spare unicorns and a rainbow left over. If you come back in a day or so you will see what I made for myself with the extra pieces - here is a sneaky peek! The brush lettering workshop I did at the beginning of January is proving very useful!
Thanks for looking at my blog today and joining our first hop of 2018 - don't forget to leave a comment below and on other blogs as you hop around! We will be back next month with lots more inspiration for you.
Details of the products I used for this project can be found below.
Next on the hop is Tricia who I'm sure has something fabulous to share with you too.
Happy crafting!
Susan xx
If you get lost along the hop, here is a list of all participants.
Anastasia Radloff
Karie Beglau
Susan Simpson you are here!
If you don't have a Stampin' Up! Demonstrator I would love to be yours! If you don't have a copies of current catalogues and the Sale-a-Bration brochure and you would like one, please let me know and I will send them to you straight away free of charge.
If you need to order any supplies, simply use my “shop with me” button or click on the catalogue links on the right. Alternatively, contact me and I would be happy to place an order for you.
Would you like to receive a FREE gift from me? All orders placed directly with me or online receive a handmade card from me as a thank you but did you know that all orders over £20 (excluding postage) will receive a gift from me too? If you use the current Hostess Code: AE6QGJVV I will pop something in with your order or post directly to you, (please remember to allow me to access your contact details otherwise I won't be able to contact you).
If you are in the UK, please click on the images below to go straight to my online store.


Super cute. I love all the sparkle.
ReplyDeleteYou can't beat a bit of sparkle can you! :)
DeleteAdorable! I love the ruler tip too!
ReplyDeleteThank you Karie.
DeleteOh, so cute. I need to remind myself sometimes less is more and white space is okay. Thanks for sharing
ReplyDeleteThank you Carly - gotta love white space!
DeleteI love how you coordinated the unicorns mane with the rainbow, and the sparkle put it over the top! This set is on my have to get list! Judi
ReplyDeleteThank you Judi. SU make coordination so easy don't they? You will love this set!
DeleteLovely card, love the sparkle on the unicorn. Great tip about the ruler. Thanks for sharing!
ReplyDeleteThank you Sharleen.
Delete