Love of Leaves - Stampers Showcase Blog Hop
Hello and welcome to another Stampers Showcase Blog Hop organised by the fabulous Dana Sullivan.
This month we have been asked to focus on the Autumn/Winter mini catalogue. With so many fabulous items in the catalogue this could have been a difficult choice for me. However, I went with a stamp and die bundle that I absolutely love called Love Of Leaves for my project.
The stamp set and dies are available as a bundle with a 10% discount. Although I have many stamp sets that feature leaves I had to have this one too because another thing I love are stitched edge dies. This is one set that I will not be parting with even when it retires!
Here is my project:
Long or DL sized cards see to be on trend right now. I like the longer length as it offers more opportunities to embellish. I also think DL cards look very elegant don't you?
The colours I used:
You will need:
21 cm x 21 cm ww thick - scored at 10.5. cm
9.5 cm x 20 cm ww thick
Small pieces of ww thick and Seaside Spray for stamping and die cutting
The die cut background:
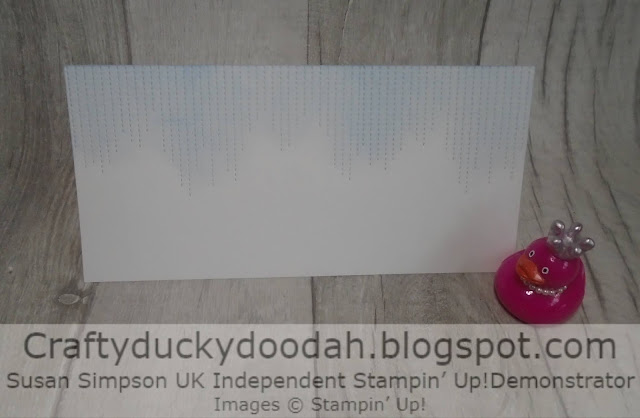
The border die is amazing! All those stitched lines are my idea of heaven! You will need to use the border die twice along the top of the 9.5 cm ww piece of card.
Top tip #1:
Take care to align the die, I used low tack tape to hold in place. When you add the die for the second time, make sure to position the die so that you have an even gap between the two die cuts. I realised when editing the photo above that I had positioned the die too close so gap between two lines of the stitching is uneven.
Inking the background:
I decided to add some colour to highlight the stitched border. I used Seaside Spray ink mixed with a little Glycerin and sponged across the card adding colour over the stitched lines.
Top tip #2:
The stamping and die cutting:
Adhere the sentiments with dimensionals. I used some of the lovely Seaside Spray Metallic ribbon to tie a little bow and adhered with a mini glue dot.
The single green leaf in the middle of the inside came about because I somehow ended up with a splodge of Shaded Spruce. I will write a little message to the right of this leaf so I think it will be ok!
Thanks for hopping along with us again, don't forget to leave comments as you hop along with us!
Susan xx
If you have any questions, or need help with anything I’m always happy to help. You can email me susan_merrey@yahoo.co.uk or telephone 07905 403 823 during normal working hours.
If you need to order any supplies, simply use my “shop with me” button or click on the catalogue links on the right. Alternatively, contact me and I would be happy to place an order for you.
If you would like a copy of either of the current Annual Catalogue let me know and I will pop one in the post for you. If you prefer, you can view an online version by clicking the link to the right of this post. Also, the August - December mini catalogue will be available very soon - if you would like a copy of either catalogue, let me know!
If your order is over £150 please don't use the code as you will receive your own Stampin' Rewards. You will still receive a card and a gift from me.
If you are local to me and can collect, I’m happy for you to piggyback one of my orders to save on postage.
Thank you for shopping with me and supporting my business.


I love your card very much
ReplyDeleteThank you Marita.
DeleteGreat card Susan, I love that stitched textured background and I love your colour palette x
ReplyDeleteThanks Mo - an indulgent colour palette using lots of my favourite colours! xx
DeleteSo pretty
ReplyDeleteThanks Wendy.
DeleteBeautiful card Susan x
ReplyDeleteThanks Kate xx
DeleteGreat slimline, and the color palette is beautiful!
ReplyDeleteThank you Melissa, I enjoyed playing with the extra space on this slimline card.
DeleteBeautiful card and combination of colours, thank you for sharing x
ReplyDelete