Quiet Meadow - Stampers Showcase Blog Hop
Hello and welcome to another Stampers Showcase Blog Hop. If you are starting here with me at Craftyducky HQ or have hopped over from Annette Ball in Canada - welcome! Our theme this month is black and white and we have lots of fabulous projects to share with you.
So, a black and white project - an idea popped into my head immediately using the Quiet Meadow stamp and die bundle.
I have been using this bundle a lot - in fact, I need to stop using it and turn to other new goodies!
The flower stem image in Quiet Meadow reminds me of a long since retired stamp set called Butterfly Basics. The splodges and the text images allow you to create all sorts of shabby/vintage backgrounds too - I do love inky splodges don't you?
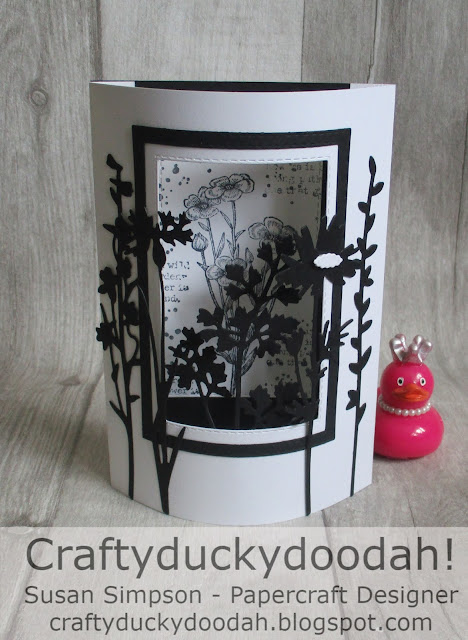
Here is my project:
The colours I used (obviously)!
You will need:
15 cm x 15 cm Basic White Thick (BWT) scored at 1.5 cm each end. This is the card front.
10 cm x 15 cm Basic Black. This is the back panel.
9.5 cm x 14.5 cm BWT
9 cm x 12 cm Basic Black
12 cm x 3 cm Basic Black
Basic Black card for die cutting the flowers
The die cutting:
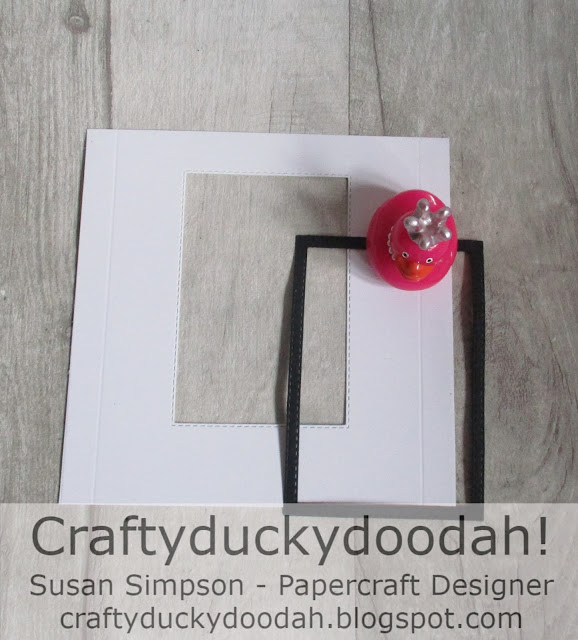
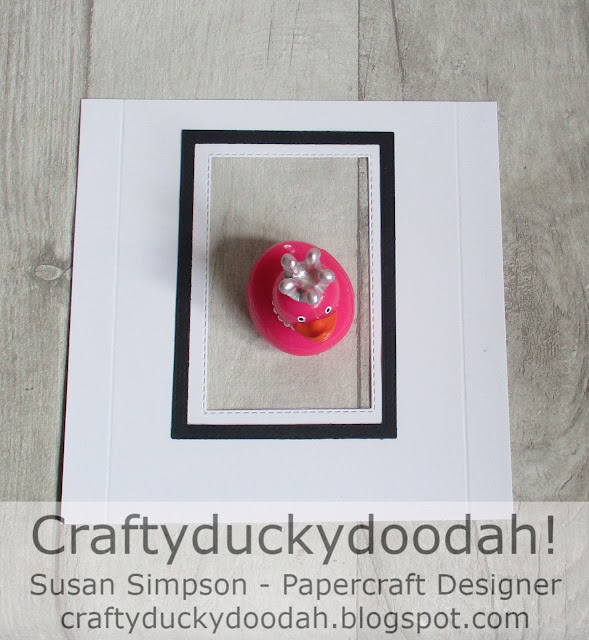
I used the Stitched Rectangle dies to cut an aperture in the centre of the card front. I also created a frame using two different sized dies. I also cut a selection of flowers, stems and a single butterfly from Basic Black card.
The stamping:
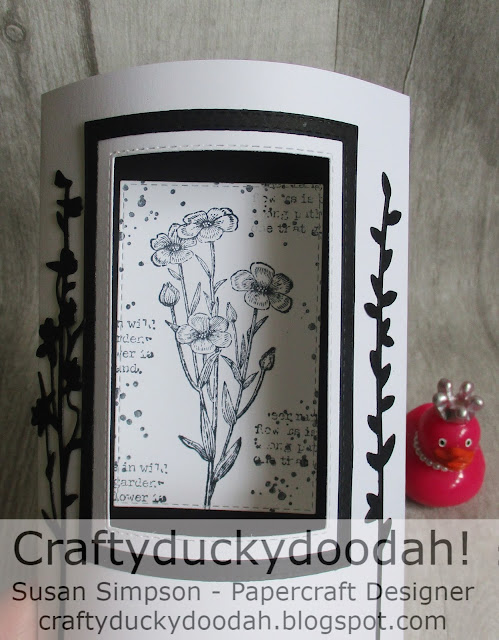
I used the lovely images in Quiet Meadow to decorate the stitched edge rectangle. The splodges and the text have been stamped with second generation ink (stamped off) Memento ink.
To assemble:
Using tiny dabs of Tombow adhere the black die cut frame around the aperture on the front of the card.
Crease the folds on the card front and then using Tombow adhere the first side to the black panel to create the back of the card.
Top Tip:
If you are a neat freak (like me), be careful which side of the black you adhere the front panel too. Cut marks on the edges are not a good look!
Add Tombow to the second scored edge and then carefully align the back panel to adhere. No need to shape the card front as it bends all by itself when you adhere it.
Adding the die cut elements:
Using tiny dabs of Tombow, adhere two of the longer stems to the front of the card.
Adhere the stamped rectangle with Tombow to the inside of the card.
Continue to add various flowers and stems until you are happy with the result.
The stem in the centre of the card has been adhered on the inside.
The Reverse:
I stamped a panel for the back of the card using Memento ink.
The detail:
I curled the wings of the butterfly and adhered with Tombow on the body only. I added some jewels for a bit of sparkle.
There is a tiny die cut that creates the centre of the flower shown on the right below - it has been adhered with a tiny piece of dimensional.
I love the depth and dimension of this project. To finish off my project I tore along the edge of the Basic Black card strip to create some 'ground'. Adhere with Tombow - you will need to press firmly in place across the curve.
The completed project:
I had no idea what this card fold is called, one of my crafty ladies suggested it was a domed diorama card so I will go with that - whatever it is called, I love it!
Anyone want to guess what my next project is? Yes, a box to put the card in!
Next up is the lovely Jo Blackman who I know will have a fabulous project to share.
Thanks for hopping along with us - don't forget to leave comments as you hop around to let us know what you think of our projects!
Thank you so much for looking at my Blog today. Unfortunately I am no longer a Stampin' Up! Demonstrator. SU regulations are very strict; I have to wait 3 whole months before I can rejoin again.
If you would like a copy of either of the current Annual Catalogue just let me know and I will arrange for a copy to be sent to you.


Beautiful!!!!
ReplyDeleteThank you!!!!
DeleteWhat a fun card, it's like a diorama. I'm definitely going to have to try out this fold. Thanks for the inspiration!
ReplyDeleteThanks Stephanie - it was fun to create, very quick too!
DeleteLove your card design, really pretty.x
ReplyDeleteThank you Stacey xx
DeleteGreat card Susan, love it x
ReplyDeleteThanks Mo xx
DeleteLove the dimension in your card Susan. Beautiful!!
ReplyDeleteThanks Melissa.
DeleteWhat a striking card! So clever Susan x
ReplyDeleteThanks Kate, a great colour combo that should be used more often! xx
Delete