Snowflake Wishes - Ink & Inspiration
Hello and welcome to another Ink & Inspiration Blog Hop. This month our challenge is to make our project sparkle! I will be using a stamp set called Snowflake Wishes for my project.
If you are starting here with me at Craftyducky HQ or you have hopped over from Rachael in Australia - welcome we have lots of fabulous sparkly projects to share with you this month.
Unusually for me as soon I saw our challenge this month I knew exactly which stamp set I wanted to use.
'May your Season Sparkle' is one of my favourite sentiments and was exactly what I needed for my project. I also used lots of copper embossing powder for my project for a muted sort of vintage sparkle.
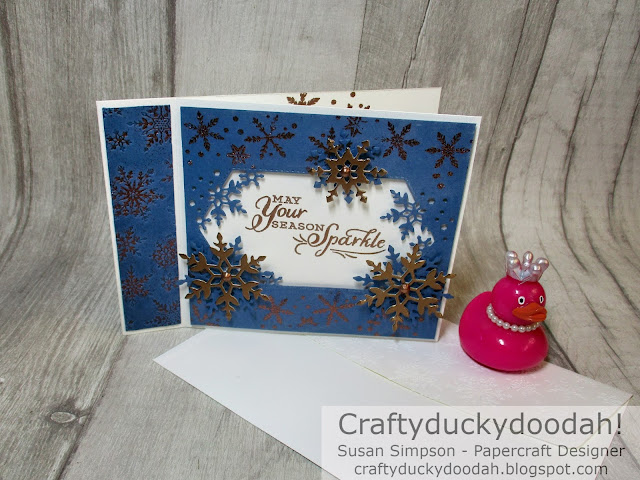
Here is my project:
It's a book fold card.
The colours I used:
You will need:
29 cm x 10.5 cm Basic White Thick (BWT) - scored at 14.5 cm and 17.5 cm
2.5 cm x 10 cm Misty Moonlight
10.5 cm x 9.5 cm Misty Moonlight
Small pieces of Misty Moonlight and Brushed Copper Metallic Cardstock for the snowflakes
The double embossed side panel:
Ink up the inside of the Winter Snow embossing folder with Versamark ink. Position the 2.5 cm piece of Misty Moonlight inside carefully and then emboss.
Sprinkle with copper embossing powder and heat. As I was aiming for a vintagey (is that even a word?) look I was not too bothered by any stray specks of embossing powder.
The die cutting:
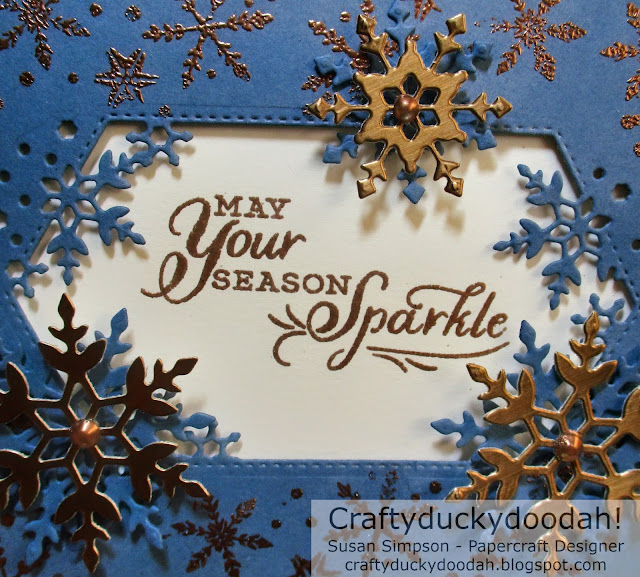
I used the tag die from So Many Snowflakes to cut out an aperture in the Misty Moonlight panel.
Randomly stamp snowflakes all around the panel using Versamark and emboss with copper powder.
Cut out a selection of snowflakes using Misty Moonlight and Copper foil.
The sentiment:
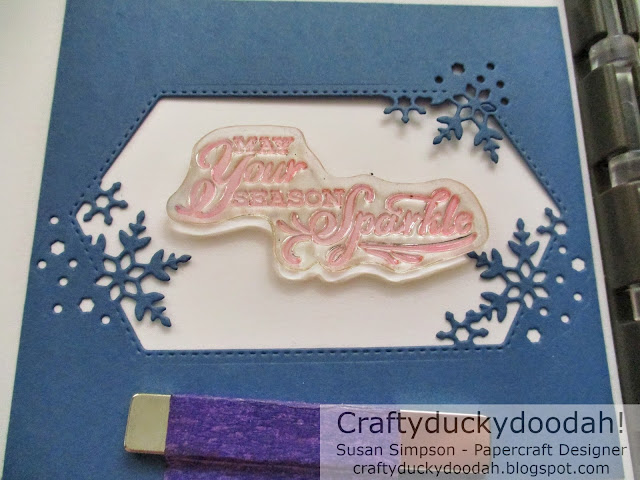
I used my Stamparatus to help me position the sentiment inside the aperture.
The sentiment has been stamped with Versamark and heat embossed with copper powder.
To assemble:
I used Tombow to adhere the book fold section. The embossed side panel has also been adhered with Tombow.
I used dimensionals to adhere the die cut panel to the card front. I used tiny off cuts of dimensional to layer up the snowflakes and then Tombow to adhere to the card.
The inside/envelope:
I ran the envelope flap through my Big Shot using the Winter Snow embossing folder. I then stamped some more snowflakes on the inside of the card with Versamark and heat embossed with copper powder.
The details:
I created my own copper embossed jewels for the entre of each snowflake. Simply smoosh Versamark ink onto the jewels, sprinkle with copper embossing powder and heat set. Again, I was not too bothered if they weren't absolutely perfect.
The completed project:
So here is my completed project - not sure I would bother making copper embellishments if I was to make more of this project, I think it may have looked better with clear jewels. What do you think?
I hope you enjoyed my project, now it's time to hop along to my lovely crafty friend Mo Rootes for another make it sparkle themed project.
Thanks for hopping along with us.
Susan xx
Thank you so much for looking at my Blog today. Unfortunately I am no longer a Stampin' Up! Demonstrator. SU regulations are very strict; I have to wait 3 whole months before I can re-join again.
If you would like a copy of either of the current Annual Catalogue or the upcoming Mini Catalogue just let me know and I will arrange for a copy to be sent to you.


Hi Susan, Wow I love all the sparkle on your card. Just beautiful.
ReplyDeleteGreat card Susan, love the blue white and copper combo x
ReplyDeleteGreat card and wonderful instruction!
ReplyDeleteBeautiful card! Thanks for sharing!
ReplyDeleteSuper sparkly Susan! Love it! :)
ReplyDeleteAbsolutely Gorgeous!
ReplyDeleteSuch a pretty card with lots of cool techniques! -Ann
ReplyDeleteSuch a pretty card Susan. Love your colour combo.
ReplyDelete