Pretty Pillowbox Dies - Ink & Inspiration
If you are starting our hop here with me at Craftyducky HQ or you have hopped over from Beth McCullough aka Stamping Mom, welcome. Our theme this month is 'tools' and we have lots of fabulous inspiration for you.
The items I use a lot for my projects, after stamping of course are dies and my die cutting machine. I treated myself to a Stampin' Cut & Emboss Machine last year. My trusty Big Shot had given many years of faithful service and was in need of a rest.
The Stampin' Cut & Emboss does everything you need it to but, my favourite feature of this new machine is that the platform folds up! I also like it because it is considerably lighter than the Big Shot.
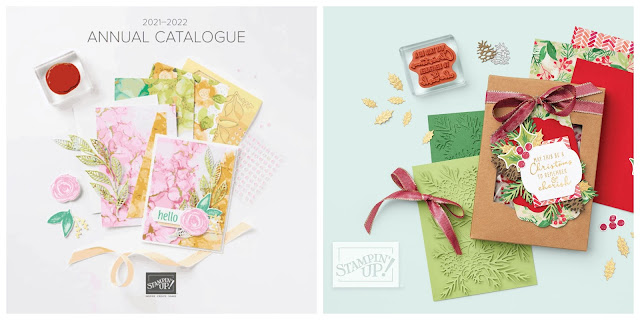
Inspiration for my project came from page 8 of the June - December Mini Catalogue. As you can see from the image towards the end of this post, my prototype project did not end well!!
The dies:
These dies allow you to create adorable little treat pouches with ease. There are lots of embellishment pieces included in the set and also several flowers and a very useful tag die.
Here is my project:
I decided to have a go at recreating the pillowbox shown above. I will be creating several of these to have on my dinner table over the Christmas period. Measuring approximately 8.5 cm x 5 cm they are perfect for putting little treats or gifts in.
The pillowbox:
I used Kraft paper for my project along with Real Red and Basic White card. There are so many possibilities with these dies, you can use cardstock or your favourite DSP.
You will need:
6" x 6" Kraft Paper
Small pieces of Basic White Thick (BWT) and Real Red card
The die cutting:
You only need a single die cut to create the pillow box which is a great time saver! I used a 6" X 6" piece of Kraft paper, you can see there is some paper left over too to use on another project. I then used one of the clever little dies to add detail on the flap.
To assemble:
The clever die also scores the paper as well as cutting it with a single pass. Take a little time to carefully reinforce the creases. My prototype did not go so well as I rushed it in the excitement of playing with a new die!
I used Tombow on the corner sections as I preferred the neater finish but you don't have to.
I used a scrap of Real Red to trace around the accent die I used above.
After trimming, I then adhered to the reverse of the flap using Tombow.
The tag:
I used a sentiment from Hydrangea Haven, stamped across the corner in Real Red ink.
I die cut two flowers using Real Red cardstock
Top tip 1:
Place the flowers in the palm of your hand and 'push' with the end of a pen or a poky tool to add dimension.
Adhere the flower using a dab of Tombow, offsetting the petals for a full flower look. I then placed a Gilded Gem in the centre for a little sparkle. Adhere to the tag with a glue dot.
I attached two Velcro dots to the flap and then wrapped a length of linen thread around the flap so that I could attach the tag.
The completed project:
As you can see from the image below, my prototype project did not end well!!
Top Tip 2:
For my prototype I did not adhere the flaps and folded them towards the front of the pillowbox. Adhering the flaps with Tombow towards the back of the box makes a huge difference and is much neater.
Top tip 3:
Did you spot the curled ends on the linen thread? I used my bone folder (something else I use a lot) to curl the ends of the thread!
Next up is Karen Henderson, I can't wait to see what her favourite tool is. Thanks for hopping along with us, I hope you are enjoying our projects. We always like to hear what you think of our projects, leaving comments is always appreciated!
Susan xx
Thank you so much for looking at my Blog today. If you need to order any supplies, you can order through my online store or get in touch and I will be happy to place an order for you.
If you would like a copy of either of the current Annual Catalogue or the latest Mini Catalogue just let me know and I will get copies to you asap.
Product List:


Thanks for all the tips. I love your pillow box!
ReplyDeleteThank you Lorraine!
DeleteGreat projects and tips Thanks for sharing.
ReplyDeleteThanks Diane.
DeleteLove your project!
ReplyDeleteThank you Melva.
DeleteSuch a great pillow box!!
ReplyDeletexx Susan
Thanks Susan xx
DeleteThanks for all your tips.Cute box!
ReplyDeleteThank you Maheswari - I usually lean these things the hard way!
DeleteLove the pillowbox, thanks for all the tips! - Ann ☺️
ReplyDeleteThank you Ann
DeleteSweet little treat boxes Susan, I love the splash of red with the craft card x
ReplyDeleteThanks Mo - I love the splash of red too but, they would look great in any colour really. xx
DeleteWhat a fun project Susan! I think I had the same issue as you the first time I made one! lol
ReplyDeleteThanks Deb - glad I am not the only one who learns the hard way!
DeleteLove how you showcased the dies, Susan. Thanks for the tips for using the scoring tool with the poinsettia die. x
ReplyDeleteThanks Angie - great hopping with you. xx
Delete