Hey Birthday Chick
Hello, I have a set of really cute cards to share today using the fabulous Hey Birthday Chick bundle with a little help from the brand new Hey Birthday Chick bundle!
Now you can expand your clutch of chicks with the arrival of Hey Birthday Chick. I love the expression on the chicks - so comical!
I love to make tiny cards for a change don't you? This card has been designed to fit into a 3" x 3" BWT envelope; the card is slightly smaller than I would usually make for this size of envelope to allow for all the dimension!
The inspiration for this project came directly from Stampin' Up! and I knew as soon as I saw it that I needed to create a version - does this ever happen to you?
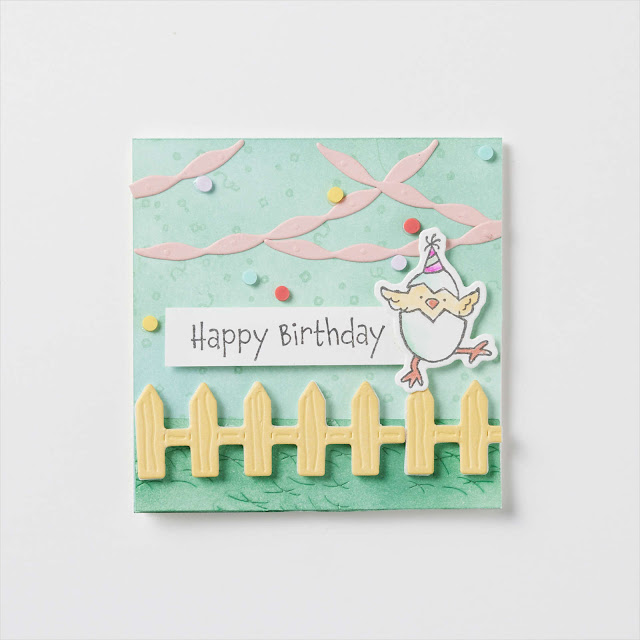
Here is my recreation of the SU project
It was difficult to guage from the image above the size of the project; I think mine is slighlty smaller so I decided not to add the little coloured dots to my card.
The colours I used:
You will need:
15.2 cm x 6.7 cm Basic White Thick (BWT) - scrored 7.6cm
6.7 cm x 5.8 cm
Scraps of BWT for stamping and diecutting
The background:
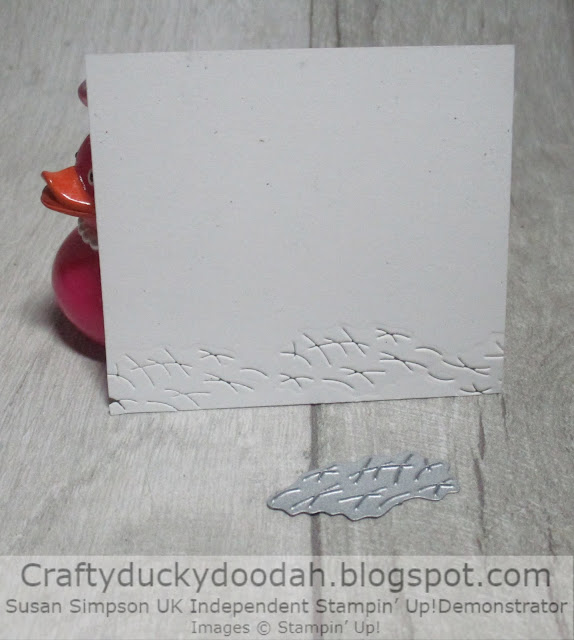
Die cut the little cross hatches across the bottom of the BWT panel.
Top Tip
Re position the sticky note to cover the Coastal Cabana section. Then add Pool Party ink to the top of the panel with a blending brush. I then stamped the little dots and swirls on the top section using Pool Party ink.
The die cutting:
I cut the fence from So Saffron card and the bunting (3), from Blushing Bride.
To assemble:
Adhere the fence with mini dimensionals and use tiny dabs of Tombow to adhere the bunting snipping off any overhaning pieces.
The stamping and colouring:
Stamp a little chick onto a scrap of card using Memento ink and cut out with the coordinating die. I added some colour with the blend pens.
Adhere the chick to the top of the fence with a dimensional. Stamp the sentiment onto a scrap of card with Memento ink and trim to size. Adhere to the card with mini dimensionals. Finally, adhere the panel to the card front with dimensonals.
Here is the completed project:
I decorated the envelope flap and the inside of the card with the dots and swirls image using Pool Party ink.
I had so fun much with these little cards that I made a whole pile of them. I used different chicks and sentiments and also stamped the chicks on some of the envelopes.
Some of the cards I made will be used as customer thank you cards and the rest I will give to my team at work for Easter.
Thank you so much for looking at my Blog today, if you don't have a Stampin' Up! Demonstrator and you live in the UK, I would love to be yours!
If you would like a copy of either of the current Annual Catalogue or the current Mini Catalogue let me know and I will pop one in the post for you. If you prefer, you can view an online version by clicking the link to the right of this post. Also, the January - June Mini Catalogue and the Sale-A-Bration Brochure are available now - if you would like a copies, let me know!
Thank you for shopping with me and supporting my business.


Comments
Post a Comment